Grooming & Shedding How-to
How to Use a Slicker Brush Without Scratching the Skin
Short answer
Hold a slicker loosely, keep the pad flat and use short strokes with the lie of the hair, one parted section at a time. For pressure, use about the brush’s own weight, no more than feels comfortable when you draw it down the inside of your own forearm: the pins should glide over the skin, never dig in.
Is a slicker the right brush for this coat?
A slicker’s fine wire pins need enough hair around them to stay off the skin. The AKC’s guide to dog brushes recommends slickers for medium, long, wire and curly coats, where they remove mats and the loose hair that would form new ones. On a short, smooth coat the pins have almost nothing to work through, so they land on the skin.
- A good fit: medium, long, curly and wire coats, feathered legs and tails, and cats with medium or long fur.
- A lighter hand: older pets, whose skin may be thinner, and a clipped coat growing back.
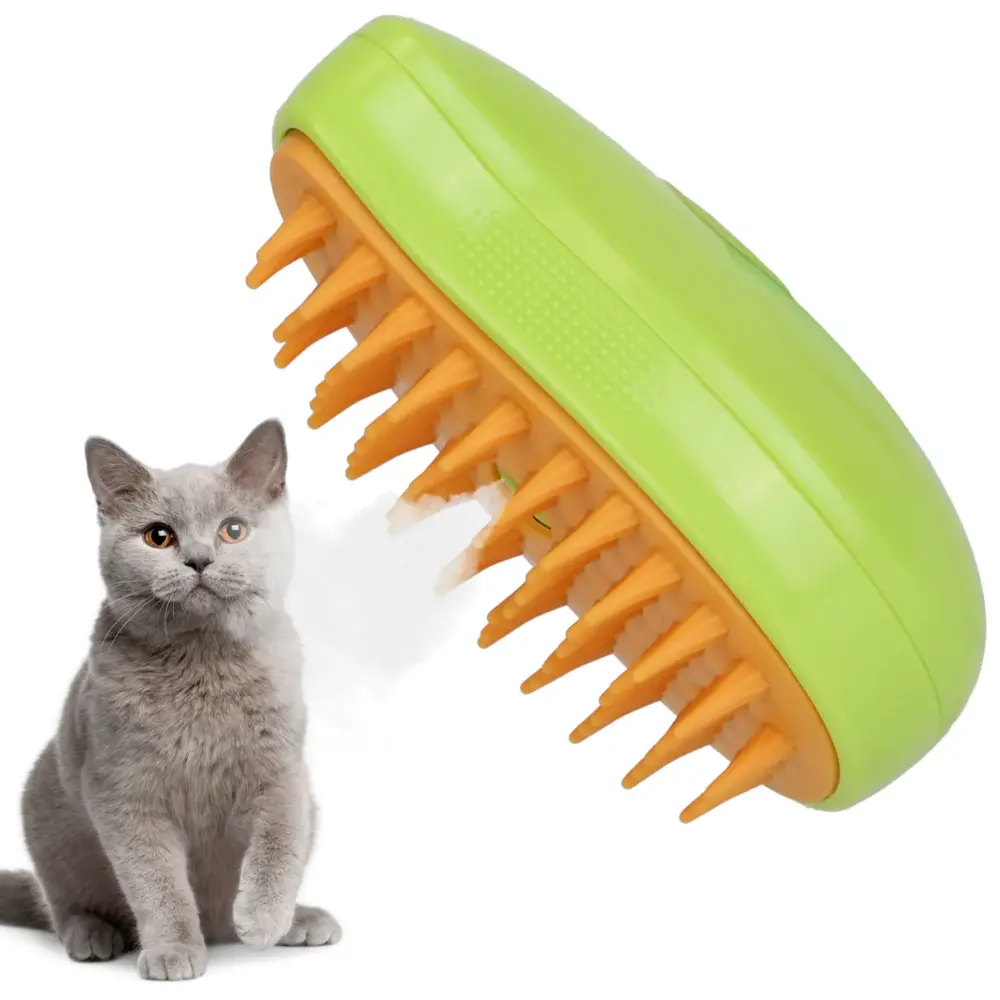
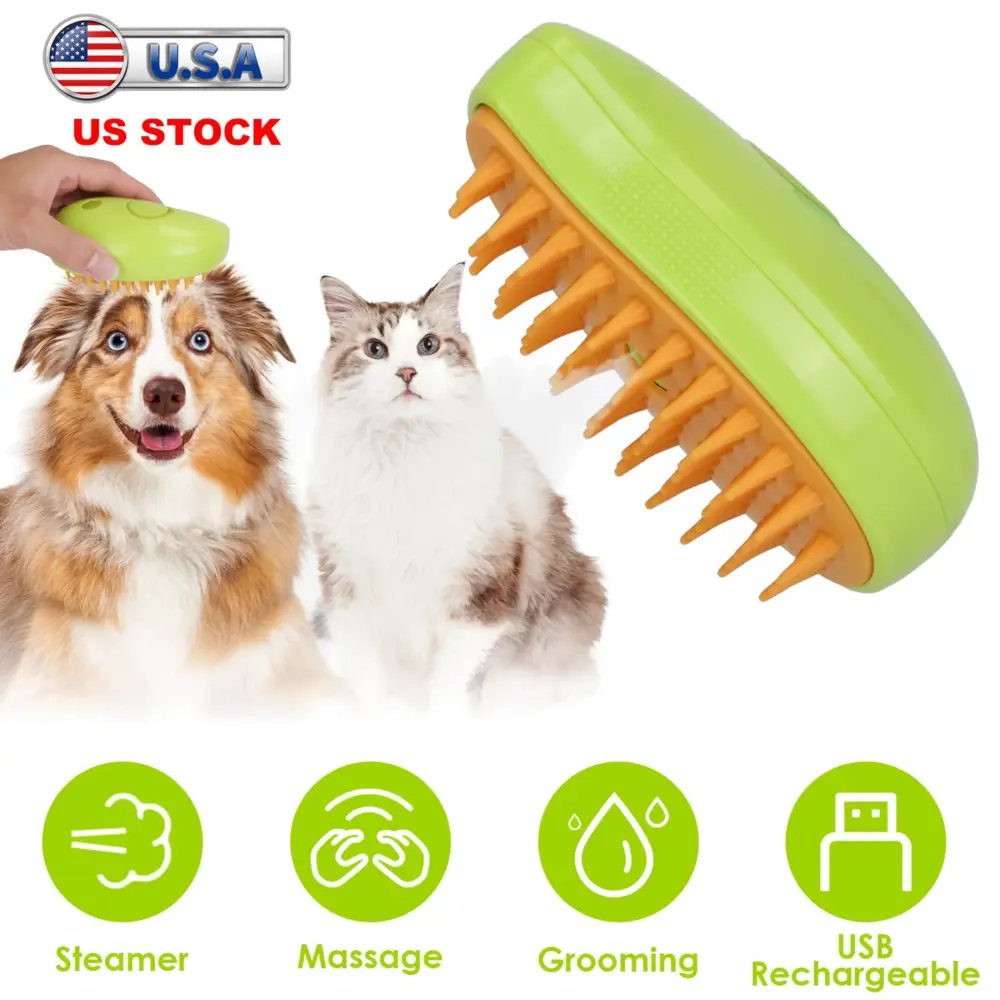
- Something softer: smooth coats like a Boxer’s, and most short-haired cats. Soft silicone pins, like those on our 3-in-1 Steam Grooming Brush, suit them better.
On a double coat the slicker is the detangling step, and a de-shedding tool may follow it; our slicker brush vs deshedding tool comparison matches each coat to the right tool.
Holding a slicker: a loose wrist, not a fist
Most slicker scratches start in the hand holding the brush. Wrapped in a fist, it becomes part of your forearm: the wrist locks, and the weight of your arm goes straight into the pins. A loose hold lets the brush ride over the curves of the body instead.
- Pinch, don’t grab. Hold the handle close to the head between your thumb and first two fingers, thumb resting along the top. Let the other fingers curl loosely underneath.
- Move from the wrist. Each stroke is a small flick of a relaxed wrist, closer to brushing crumbs off a table than scrubbing a pan.
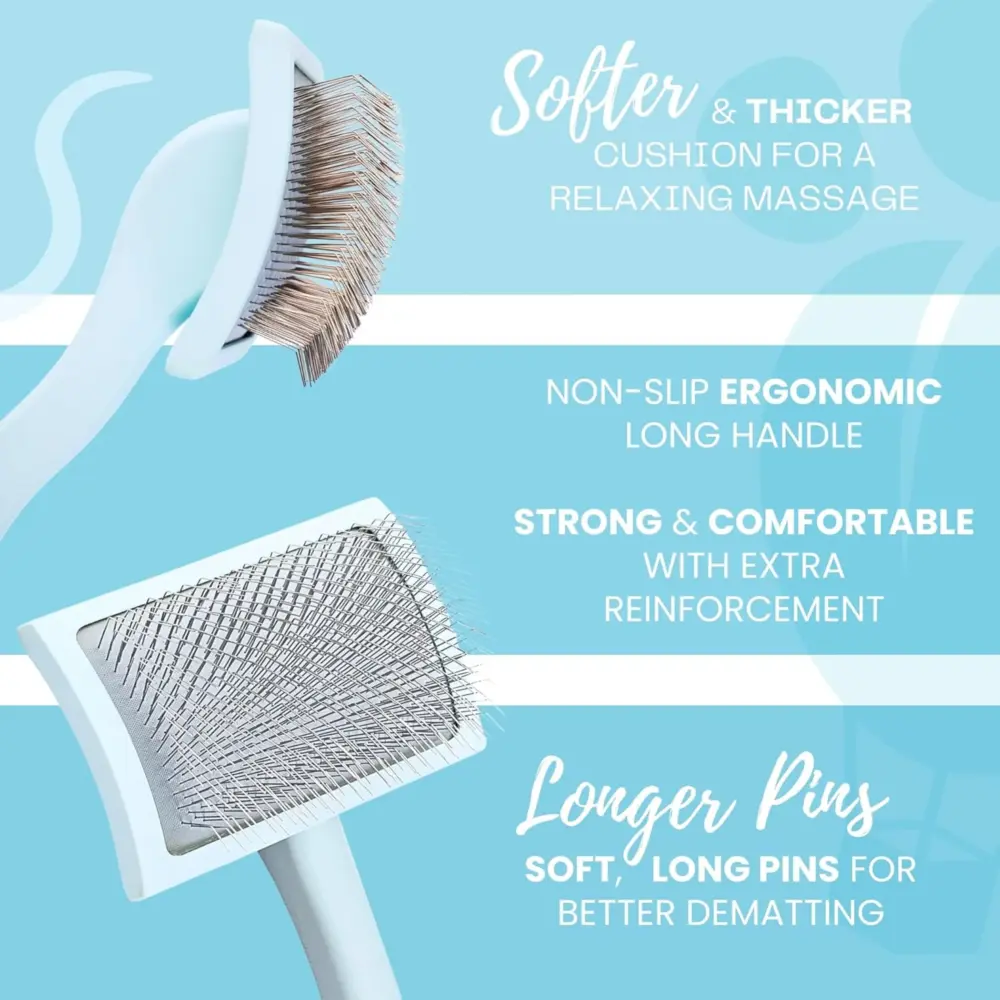
- Keep the pad flat. Slicker pins are usually angled, and tipping the head onto its front or back edge drives a few rows in steeply. On a curved slicker, let the curve sit on the body so all the pins share the work.
How much pressure: the forearm test
The pins do need to reach the base of the hair, but parting the coat gets them there, not force. The AKC advises a light touch, because pressing down hard can make a dog uncomfortable. To find out what light means with your brush, try it on yourself first:
- Draw the slicker slowly down the soft inside of your forearm with your usual brushing pressure.
- A sting, red lines or white scratch marks mean that pressure is too much for any pet, and far too much for a belly or a cat.
- Try again with the brush resting at little more than its own weight. You should feel every pin, with no sting and no mark. That is your pressure for the body; go lighter still on thin-skinned spots.
Then watch the first few strokes on your pet:
| Sign | What it means | What to do |
|---|---|---|
| Pink skin | Too much pressure or too many passes | Use a lighter touch; move on sooner |
| Flinching | Too hard, or a sore spot | Stop and look at the skin |
| Brush skims | The section is too thick | Part a thinner strip |
| Comb catches | Only the top layer got brushed | Part down to the skin and rebrush |
| Clogged pad | Hair packed between the pins | Peel it off before you continue |
How to use a slicker brush, step by step
Work on a dry coat, or one lightly misted with water, never a soaking one, which drags and snags. Brush before a bath, not after: VCA Animal Hospitals warns that tangles can become impossible to remove once the coat has been washed. The method below is line brushing: you part the coat and brush it in layers from the skin outward, so the pins reach the roots without being pushed there.
What you need
- A slicker brush with straight, undamaged pins
- A metal comb, for checking long and curly coats (we don’t stock combs)
- Small treats, or a lick mat for a pet who fidgets
- Good light, so you can see the skin along each part
- A towel or non-slip mat for your pet to stand or lie on
Two items on that list come from our own range:
-
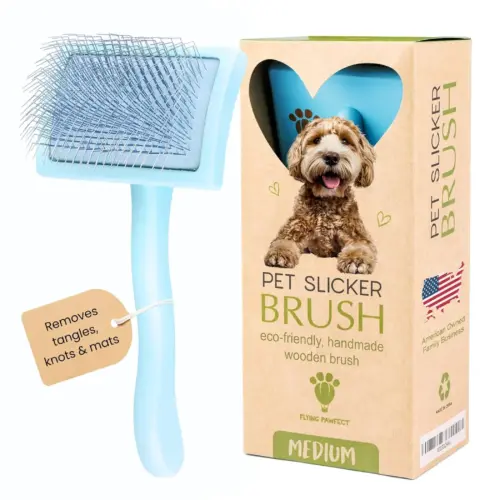
Sakabase
Curved Slicker Brush, View product
$39.95
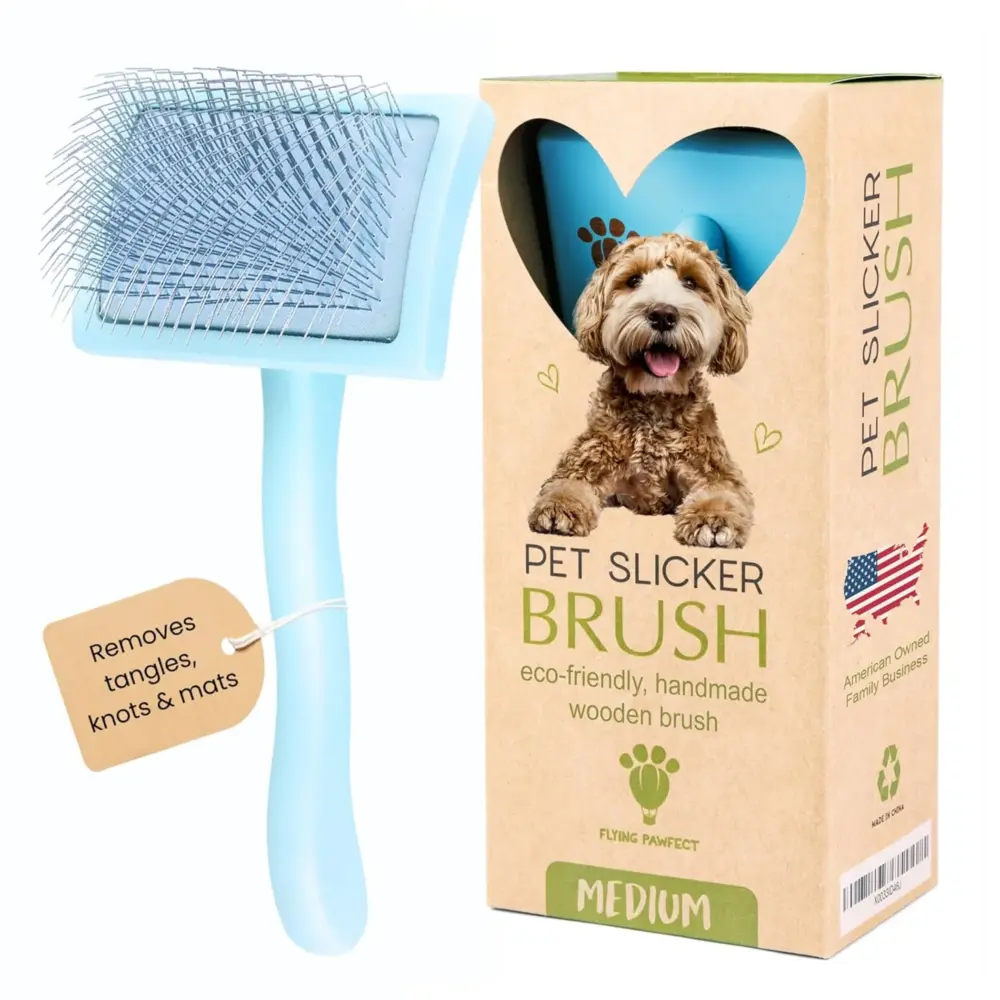
Why it fits: Its curved head follows the body, so more pins meet the coat on each stroke; fine, firm pins reach the undercoat of long, thick coats.
-
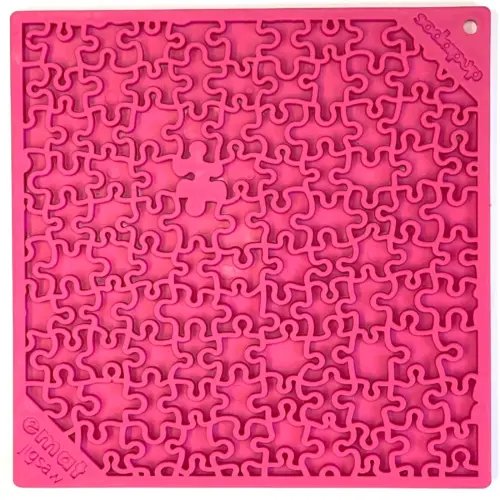
SodaPup
Jigsaw Enrichment Lick Mat for Dogs & Cats, Choose color
$25.95
Why it fits: Gives your pet a slow licking job while you brush, so you can keep each stroke short and light; it suits dogs of all sizes and cats.
- Feel the coat first. Run your fingers from head to tail to find knots, burrs and any spot your pet flinches at. Leave sore, scabbed or broken skin out of the session.
- Start somewhere easy, such as the shoulders or the middle of the back, where the coat is thickest and the skin least sensitive.
- Part a strip. With your free hand, lift the hair above a line and hold it back, the heel of your hand on the body to keep loose skin still. You should see skin along the part.
- Set the pad at the part. Rest the whole head on the strip, flat rather than tipped, with the pin tips just meeting the skin at the roots.
- Brush down and out. Draw the brush away from the skin in a short stroke of a few inches, the way the hair grows, and lift it off at the end instead of dragging it back.
- Move on once it glides. When the pins pass through the strip without catching, let down the next layer of hair and repeat.
- Work in an order. Back and sides first, then hindquarters and tail, then legs and chest, leaving the belly and armpits for last, when your pet has settled.
- Peel the pad between sections. Lift the collected hair off with a fingertip. A pad buried in hair rides on top of the coat.
- End with a look. Part the coat in a few places you brushed, check that the skin is its normal color, and finish with a treat.
On a medium coat you can part wide strips and be done in minutes. On a long, thick or curly coat the strips get thinner and a comb checks each one; how to brush a long-haired dog lays out that row-by-row routine and how to split a big coat across the week.
Working out a small tangle
When the slicker catches, stop pulling. Dragging the pins through a knot tugs on the skin it is anchored to.
- Hold the hair at the base. Pinch the hair between the tangle and the skin, so any tug lands on your fingers instead.
- Brush the very tips first, in short, light flicks on the outer end of the tangle, a few strands at a time.
- Work inward gradually. Start each pass a little closer to your fingers, until the brush slides cleanly from your fingers to the ends.
- Give it a minute or two. If it hasn’t loosened by then, leave it, finish the rest of the coat and come back another day.
It is the same method the Sakabase slicker’s own instructions give for mats. A knot you can’t slide a fingertip under, or one felted flat against the skin, is past this method and should never be cut out with scissors; how to get mats out of dog hair covers what can come out at home and what belongs with a groomer.
Thin-skinned spots, and using a slicker on a cat
On a dog, the skin tends to be most delicate where the coat is thinnest, and several of those places are also the ones that tangle most. Brush them last, with the lightest pressure of the session and one or two passes per strip:
- Belly, groin and inner thighs. Brush with your dog lying on their side, lifting the top hind leg slightly to reach inside.
- Armpits. Ease the front leg forward to open the fold, rather than pushing the brush into it.
- Ear flaps. Lay the flap across your fingers and brush outward from the base, so the pins never catch its thin edge.
- Over bone. Elbows, hocks, and the spine and hips of a lean or older dog have little padding. Barely touch the skin there.
- Face and lower legs. Short hair lies close over the skin, so use a comb or your fingers instead.
On a cat
A slicker suits cats with medium or long fur; a short-haired cat usually does better with soft pins. Use even less pressure than on a dog, with the brush resting at almost its own weight, and fewer, shorter strokes. iCatCare’s grooming advice singles out the armpits and the area between the hind legs, where the skin is very thin and extremely sensitive, and long-haired cats often knot in exactly those places. Tease small knots there apart with your fingers before the brush goes near them.
Keep each session to what your cat accepts, often a few minutes, and end it at the first rippling skin, swishing tail or ears turning back. The full routine for a long coat, mats included, is in how to groom a long-haired cat.
Brush burn: the signs, and what to do
Brush burn is the irritation slicker pins leave when they are dragged across the skin rather than drawn through the hair. It usually follows pressing down, going over one patch again and again, or working a knot for too long, and it shows up most on the thin-skinned spots above. Look for:
- Pink or red skin, in a patch or in lines that follow your strokes
- Skin that looks scraped, raw or rashy, sometimes with small bumps
- Your pet licking, scratching or chewing an area you brushed
- Flinching or moving away when the brush comes back to that spot
If you see it, stop brushing that area until it looks normal again, and skip human creams, ointments and antiseptics unless your veterinarian recommends one; medications made for people are often toxic to pets. Do discourage licking and scratching: VCA Animal Hospitals explains that in dogs, licking irritates nerve endings in the skin and sets off more itching, a cycle that can turn a small red spot into a raw sore surprisingly fast.
Safety note
Call your veterinarian if the skin is broken, bleeding, oozing or crusting, feels hot or swollen, is spreading, or isn’t clearly better within a day or two, or if your pet seems sore. Red, itchy skin has many causes besides brushing, so redness in places you didn’t brush, or redness that keeps coming back, is worth a veterinary visit too.
Next time, repeat the forearm test and give that area fewer passes once it has healed.
Mistakes and troubleshooting
Mistakes to avoid
- Scrubbing back and forth. Brush in one direction and lift. Dragging the pins back against the coat pulls on hair and skin alike.
- Going over a clear strip again and again. Once the brush glides, that strip is done.
- Rushing a wriggling pet. Fast strokes on a moving body are hard to keep light. Pause, settle your pet and start again.
If it isn’t working
- The brush catches in the same place every time. A knot sits at the base. Switch to holding the hair there and brushing from the ends inward.
- Your pet won’t stay still. Brush after a walk or a play session, do one area per session, and bring in a lick mat or a helper with treats.
- Your hand or wrist aches. The grip has crept back into a fist, or the session is too long. Loosen your hold and split the coat over several days.
- Hair still ends up everywhere. On a double coat in a heavy shed, a slicker can’t lift all the loose undercoat. Once the coat brushes through cleanly, a de-shedding tool can take out more of it.
Technique only helps once the brush suits the coat. What size slicker brush do I need covers head size, pin length and firmness.
Cleaning the pins, and when a groomer takes over
Peel the hair off the pad after every session, lifting it straight up so the pins don’t bend, then look across the pad in good light. A bent or flattened pin snags instead of gliding, and a brush with patches of bent or missing pins is due for replacement. Washing and drying the pad are covered in how to clean a dog brush.
A slicker also has limits:
- A metal comb confirms the work on long, curly and feathered coats: if it glides from skin to tip, that section is finished.
- A groomer takes over for mats that are tight to the skin or joined into sheets, a coat that has felted, and trimming around the eyes, ears, paws and rear end.
- Your veterinarian should see sores, scabs, lumps, bald patches or red skin you find before you start, as well as brush burn that doesn’t settle.
The Sakabase Curved Slicker Brush and the rest of the tools we carry are in our dog and cat grooming range.
Related guides
-
How-to
How to Brush a Dog That Hates Being Brushed, One Stroke at a Time
For the dog who runs, squirms or mouths the brush: rule out mats and pain, choose a gentler brush for the coat, set up non-slip footing and a lick mat, then build from one rewarded stroke to a full brush-out, stopping at the first sign of stress.
-
Buying guide
Best Brush for Cats: Choosing by Coat, Undercoat and Temperament
Which brush suits your cat: soft silicone pins, a slicker or a de-shedding tool? Match the tool to coat length, undercoat, skin, age and temperament, see which brush we stock for each coat, and spot the signs that a brush is the wrong one.
-
Guide
How Often Should You Brush Your Dog? A Schedule by Coat Type
Smooth coats need a weekly brush, double coats one to three sessions a week, and long, silky or curly coats daily. Get a coat-by-coat schedule, session lengths, a rule for mixed coats, the signs you need to brush more often and a weekly plan you can keep.