Grooming & Shedding How-to
How to Clean a Dog Brush and the Rest of Your Grooming Kit
Short answer
Pull the hair out of a brush after every session, then wash the pins or edge in warm, soapy water about once a month, or sooner after a muddy or greasy coat. Never soak anything that charges: wipe a mist brush and brush the dust out of a nail grinder. Dry every tool completely before storing it.

Why a dirty brush grooms worse
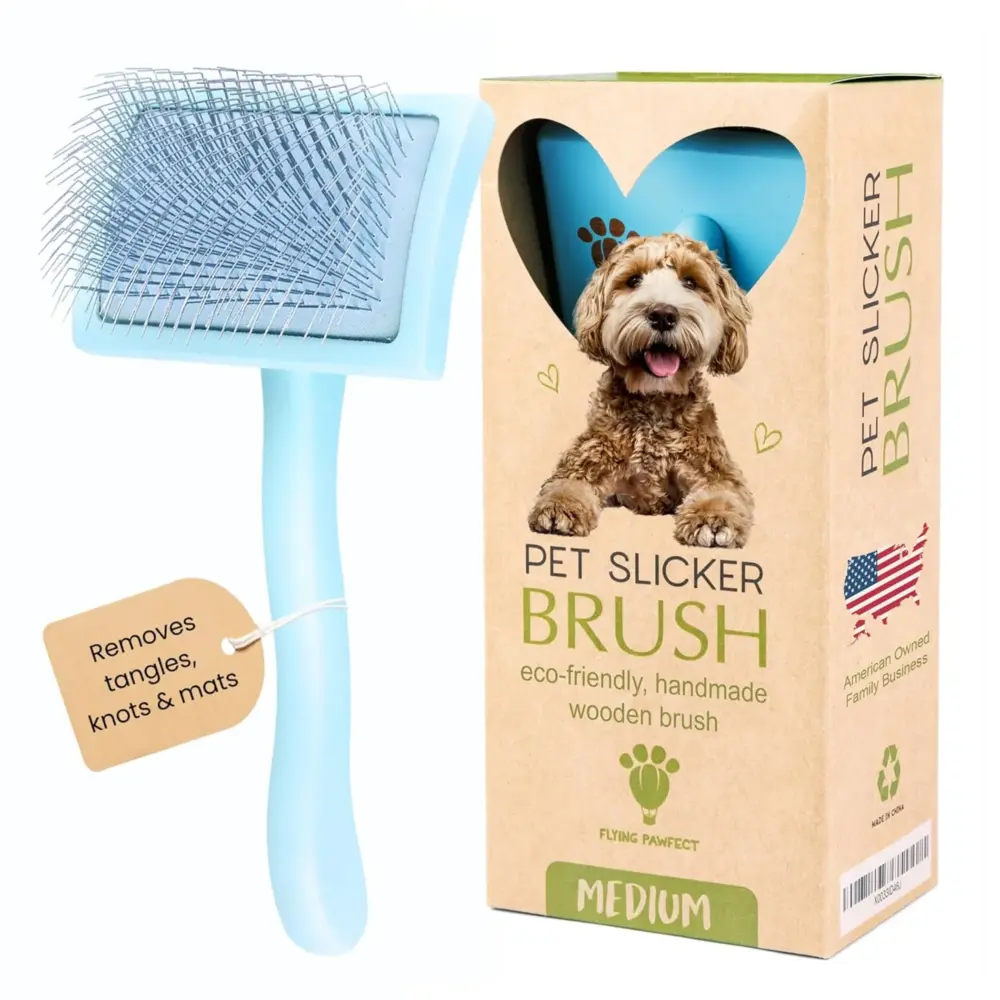
A slicker works because its pins slide down through the coat. Once the pin bed fills with a felted layer of hair, the pins only skim the top, and the natural response is to press harder, which is how a slicker ends up scratching the skin. Our guide to using a slicker brush without scratching covers the light touch it needs. A de-shedding edge packed with undercoat has the same problem: it glides over the loose hair it is meant to catch.
Hair is only part of it. Skin oil, dander and dried mud build up at the base of the pins and go straight back onto the coat, even a freshly bathed one. A brush put away damp soon smells musty, and a tool passed from pet to pet carries whatever is on it. A brush that tugs also gives a dog one more reason to dislike being brushed.
What you need
Keep these with the grooming tools, so the toothbrush and cloth stay out of kitchen use.
- An old toothbrush or a small cleaning brush, kept for grooming tools only
- A wide-tooth or metal comb, for lifting hair out of slicker pins
- A bowl of warm water with a drop of dish soap or mild pet shampoo
- An old towel, plus a bag for the hair
- A soft cloth you can wring out until barely damp, for anything that charges
- The instructions that came with your mist brush or grinder
How to clean a slicker brush
Do the first three steps after every brushing session; they take about a minute. Add the wash roughly once a month, or whenever the base of the pins looks gray or greasy.
- Peel off the hair. Start at one edge, slide a fingertip or the end of a comb under the layer of hair and lift it away in one sheet. Lift straight up, not sideways, so the pins don’t bend.
- Comb out the rest. Draw a wide-tooth comb through the pin rows from the base outward, then pick the loosened hair off the top. Bag it and throw it out.
- Tap out the dust. Hold the brush pins-down over a trash can and tap the back of the head against your palm a few times.
- Wash the pin face. Hold the brush pins-down and swish just the pins in a shallow bowl of warm, soapy water for a minute or two. Keep a wooden handle dry, since soaking can swell or crack the wood.
- Scrub along the rows. Work the toothbrush between the pins in the direction the rows run, concentrating on the base, where oil and dander collect.
- Rinse until no suds remain. Swish the pins in clean, warm water, changing the water if it turns sudsy, then give the brush a firm shake, pins down.
- Dry it pins-down. Blot the head on a towel, then leave it face-down on a dry towel, somewhere with moving air, until the pad is completely dry. That often takes overnight.
Tip
On many slickers the pins sit in a cushioned pad, and water that gets underneath dries slowly, so wash only the pins and dry the brush face-down to let it drain. If your slicker has a button that retracts the pins, follow its maker’s instructions on how much water it can take.
How to clean a de-shedding tool
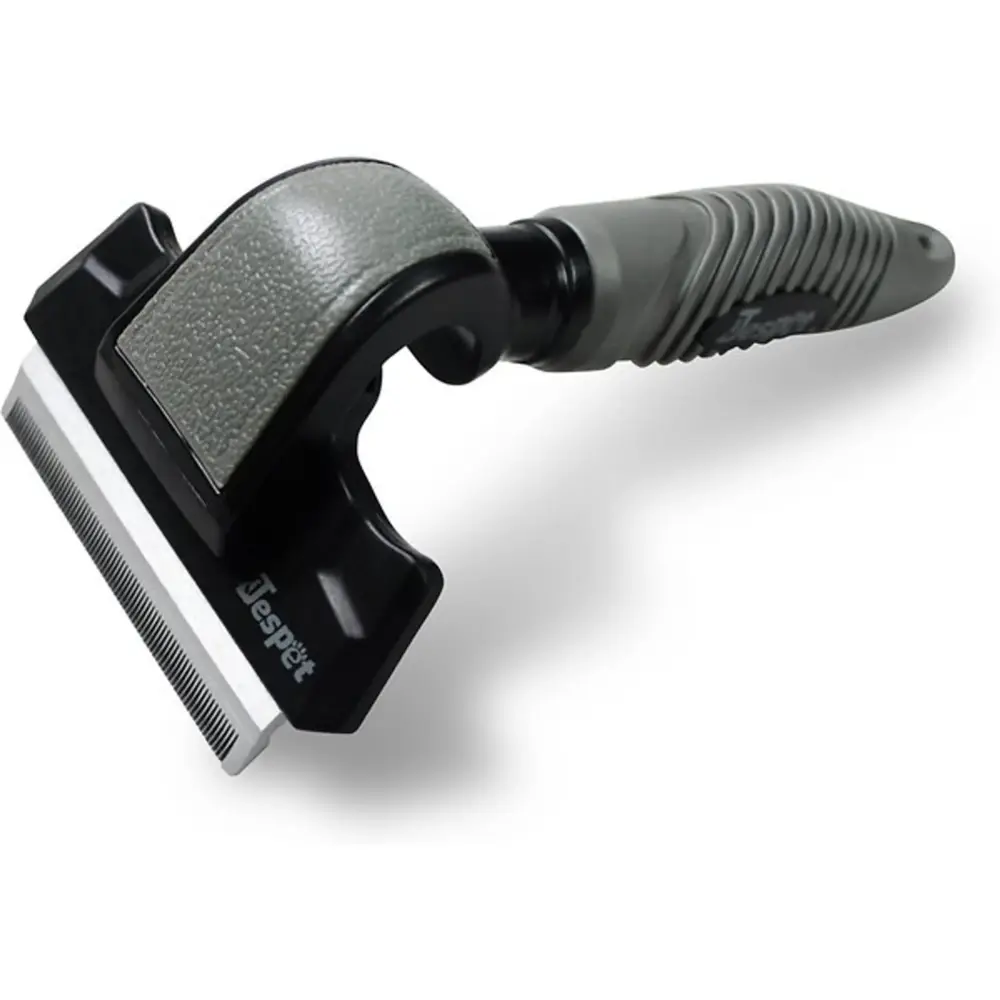
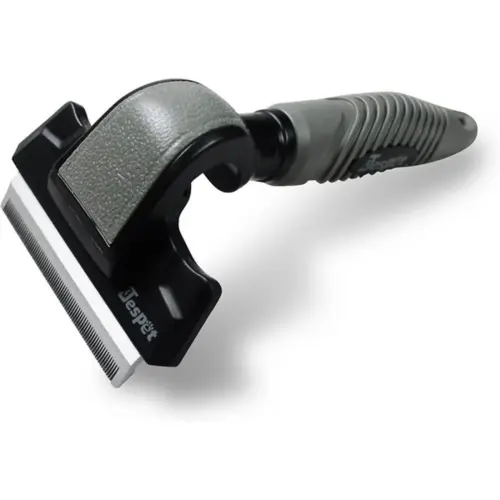
The edge of a de-shedding tool is a row of fine steel teeth, and loose undercoat packs in between them. Clear it every few strokes while you groom, then give it a proper clean when you finish:
- Pull off the hair. Pinch it away from the edge, or draw a comb along the teeth, moving away from your hand rather than toward it.
- Brush out the fluff. A dry toothbrush worked across the teeth lifts the fine undercoat your fingers miss.
- Wash only the edge. Dip the head in warm, soapy water and scrub across the teeth. If the edge detaches, follow the instructions that came with the tool.
- Dry it right away. Towel the edge, then let it air dry fully. Stainless steel resists rust, but water left between the teeth can still spot them.
- Check the teeth. In good light, look along the edge for bent, nicked or uneven teeth. A damaged edge snags the coat instead of sliding through it.
Store it with its cover on, if it came with one, somewhere nothing knocks against the teeth. Don’t try to file or straighten a damaged edge; replace the tool.
How to clean a mist brush
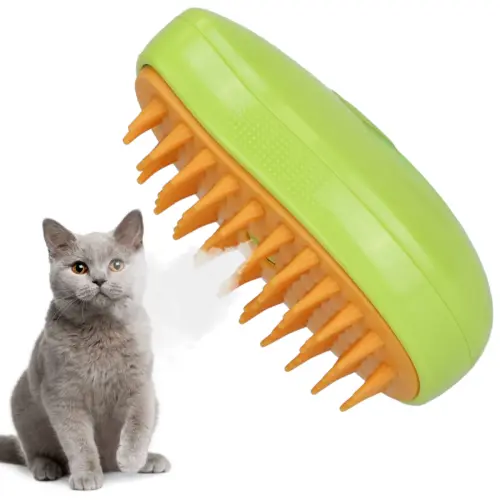
A mist brush such as our 3-in-1 Steam Grooming Brush is easier to clear than a slicker, because hair settles on top of soft silicone pins instead of winding between wire ones. The care that matters is in the tank and the electronics. Read the manual first, since models differ in which parts can get wet.
- Peel off the hair after every session, while it is still slightly damp from the mist and lifts away in a sheet.
- Empty the tank every time. Pour out what is left, leave the cap open so the inside dries, and refill with fresh, clean water before the next session.
- Wipe the pin head. Use a damp cloth. For greasy residue, put a drop of dish soap on the cloth, then wipe again with a cloth dampened in plain water so no soap stays on the pins.
- Keep it out of the sink. Don’t hold the brush under the tap or submerge it unless the manual says a part comes off for washing.
- Charge it only when it is dry. If water reaches the charging port, leave the brush to dry completely before you plug it in.
- Freshen a musty tank. If the water smells or looks cloudy, rinse the tank with fresh water a few times, shake it out and leave it open to dry before refilling.
Fill the tank with plain water only, never shampoo, conditioner or oils. A rubber or silicone brush with no electronics is simpler still: wash the whole thing in warm, soapy water and let it dry. For using a mist brush and getting a wary pet used to the spray, see do steam brushes work for cats; the method suits short-haired dogs as well.
How to clean a nail grinder
Grinding turns nail into fine dust, which collects inside the guard and on the grinding head. Left there, it cakes on, the grinder cuts more slowly and you end up pressing harder, which mostly just warms the nail. Clean it after every trim:
- Switch it off and wait for the head to stop spinning.
- Tap out the guard over a trash can or outdoors. Don’t blow the dust off; it goes straight into your face.
- Take off the guard if your model allows it (the manual will say), and brush out each opening with a dry toothbrush.
- Brush the grinding head, turning it by hand to reach every side, and unwind any paw hair caught around it.
- Wipe the body with a barely damp cloth. Keep water away from the charging port and the switch, and never rinse the grinder.
- Refit the guard and charge it, so it is ready for the next trim.
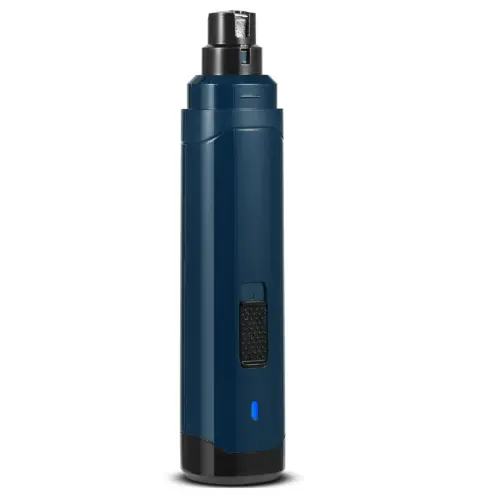
Our Quiet Rechargeable Pet Nail Grinder charges by USB and has a guard with openings sized for dogs, cats, rabbits and other small pets, so check every opening, not just the one you used. If the head still looks smooth or glazed once it is clean, or the grinder slows on a full charge, see whether the manual lists a replacement head. For the trim itself, including nervous dogs, see how to use a dog nail grinder.
Shared tools and skin problems
For healthy pets with similar coats, one brush can serve two dogs, or a dog and a cat. Peel off the first pet’s hair before you switch, and wash the brush on its usual schedule. Which tools suit both species is covered in our guide to what dogs and cats can safely share.
A skin problem changes that. Ringworm, a fungal skin infection that people can catch too, usually spreads through contact with an infected animal or a contaminated object, and the Merck Veterinary Manual names grooming tools among those objects. VCA Animal Hospitals adds that its spores can stay dormant for up to 18 months on combs, brushes and bedding.
- Give the pet its own tools if it has bald patches, scabs, flaking, sores or constant itching. Have your veterinarian check the skin, and keep those tools for that pet until the vet says the problem has cleared.
- Ask your veterinarian how to clean them, or whether to replace them. Metal pins, rubber pads and wooden handles don’t all tolerate the same disinfectant, and a worn brush may not be worth saving.
- Clean before you disinfect. The CDC’s advice on pet supplies is to wash an item in warm, soapy water and rinse it first, follow the disinfectant’s label exactly, and let the disinfectant dry fully before your pet uses the item.
- Wash your hands after grooming that pet, and before you handle the others.
Safety note
Don’t brush over sores, scabs or broken skin, whatever tool you use. It can hurt, and with ringworm, broken hairs carrying spores help the infection spread. Ask your veterinarian before you groom that area.
Mistakes and troubleshooting
Mistakes to avoid
- Using the dishwasher unless the tool’s instructions say it is dishwasher safe. Heat and strong detergent are hard on pads and handles.
- Drying with heat. A hair dryer or radiator can warp plastic and loosen a glued pad; moving air at room temperature is enough.
- Putting tools away damp. A closed drawer or grooming bag holds the moisture in, which is how brushes start to smell and pins spot with rust.
- Skipping the rinse. Soap or disinfectant left on the pins goes onto your dog’s skin with the next stroke.
If it still isn’t right
- Hair is packed deep at the base of the pins. Let just the pin face sit in warm, soapy water for a few minutes to loosen it, comb outward from the base, then dry the brush face-down.
- The brush smells after washing. It dried too slowly. Wash it again and dry it face-down near a fan; if the smell returns, the pad is holding it, and it is time for a new brush.
- Rust on the pins. A speck at the base may scrub off with the toothbrush. Rust on the pins themselves roughens them, so replace the brush and dry the next one more thoroughly.
- The de-shedding tool still drags. Check both ends of the edge, where hair packs in tight, and look for a bent tooth.
- The mist is weak or patchy. Look for hair caught around the nozzle. A white crust there usually comes from minerals in hard tap water; check the manual for how to clear it, and try distilled water.
A cleaning schedule, and when to replace a tool
Tool care is easiest as the last minute of each grooming session. This rhythm suits most homes:
| Tool | After every use | Monthly, or when grimy |
|---|---|---|
| Slicker brush | Peel and comb out the hair | Wash the pin face, dry face-down |
| Shedding tool | Clear the hair from the edge | Wash, dry and check the teeth |
| Mist brush | Peel off the hair, empty the tank | Wipe the pins, rinse the tank |
| Nail grinder | Brush out the guard and head | Unwind hair, check the head |
| Metal comb | Pull out the hair | Wash with the slicker |
Wash sooner after a muddy, sandy or greasy coat, or after grooming a pet with fleas or a skin problem. To fit tool care into the rest of the routine, see our dog grooming essentials checklist.
Signs a tool is worn out
- Slicker: pins bent, flattened or missing in patches, pins that scratch the back of your hand, a pad that is split or lifting, or a smell that survives a wash.
- De-shedding tool: nicked, bent or rough teeth, or a head that wobbles on the handle.
- Mist brush: a tank that leaks or still smells after rinsing, or a charge that no longer lasts a session.
- Nail grinder: a cracked guard, since the guard keeps toes and fur away from the spinning head, or a motor that struggles even when fully charged.
If a tool is past saving, these are the replacements we stock. The picks are limited to Nilosi’s own catalog:
-
Sakabase
Curved Slicker Brush, View product
$39.95
Why it fits: A replacement for a slicker with bent or missing pins; its curved head and fine, firm pins reach the undercoat on medium to long coats.
-
JESPET
De-Shedding Tool for Dogs & Cats, Choose size
Price range: $27.95 through $29.95
Why it fits: A replacement when the old edge is nicked or bent; its stainless-steel edge lifts loose undercoat from double-coated dogs and cats.
-
3-in-1 Steam Grooming Brush for Cats & Dogs, View product
$36.95
Why it fits: A replacement mist brush for cats and short-haired dogs; you peel the collected hair off its soft silicone pins after each session.
-
Quiet Rechargeable Pet Nail Grinder, View product
$50.95
Why it fits: A replacement for a grinder with a cracked guard; this quiet, two-speed model charges by USB and has openings for dogs, cats and small pets.
Not sure which tool your dog’s coat needs? Our comparison of the slicker brush and the deshedding tool explains which does what, or browse our full grooming range.
Related guides
-
Checklist
Dog Grooming Checklist: The Essentials by Week, Month and Season
Every home grooming job sorted by how often it comes around: brushing by coat, a weekly nose-to-tail check, teeth, nails and paw fur, after-walk cleanups, baths and shedding season, plus what to skip and which jobs to hand to a groomer or veterinarian.
-
How-to
How to Groom a Senior Dog at Home: Brushing, Nails and Lump Checks
Many older dogs tire of standing, and shorter walks wear their nails down less. Here is how to set up a comfortable spot, brush gently by coat type, keep nails short, clean up between baths, check for lumps as you go and know when a groomer or veterinarian should take over.
-
How-to
How to Use a De-Shedding Tool on a Dog or Cat Without Overdoing It
Use a de-shedding tool on a dry, detangled double coat, in light strokes with the grain, on the body only. Here’s how to pick a size, run a session step by step, which areas to skip, how often to de-shed, the signs you’re overdoing it and how to use one on a cat.