Walking & Training How-to
How to Put On a Dog Harness: Overhead, Step-In and No-Pull
Short answer
Open every buckle and find the neck loop first. An overhead harness slips over your dog’s head and buckles around the ribcage behind the front legs; a step-in lies flat while your dog steps both front feet into its loops, then clips over the back. Snug the straps so it can’t slide over the head, then clip on the leash.
Before you start: open the buckles and find the neck loop
Most fumbling happens before the harness touches your dog: it’s upside down, a strap is twisted, or you’re holding the girth strap where the neck loop should be. Sort it out in your hands first, indoors with the door shut, and work out which kind you have:
- Overhead. One closed loop goes over the head, and a strap with a buckle wraps around the ribcage. Hold the harness up by its back ring or handle and the neck loop hangs at the front.
- Step-in. Laid flat, it forms two triangles side by side, one for each front leg, and its ends buckle together over the back. Nothing goes over the head.
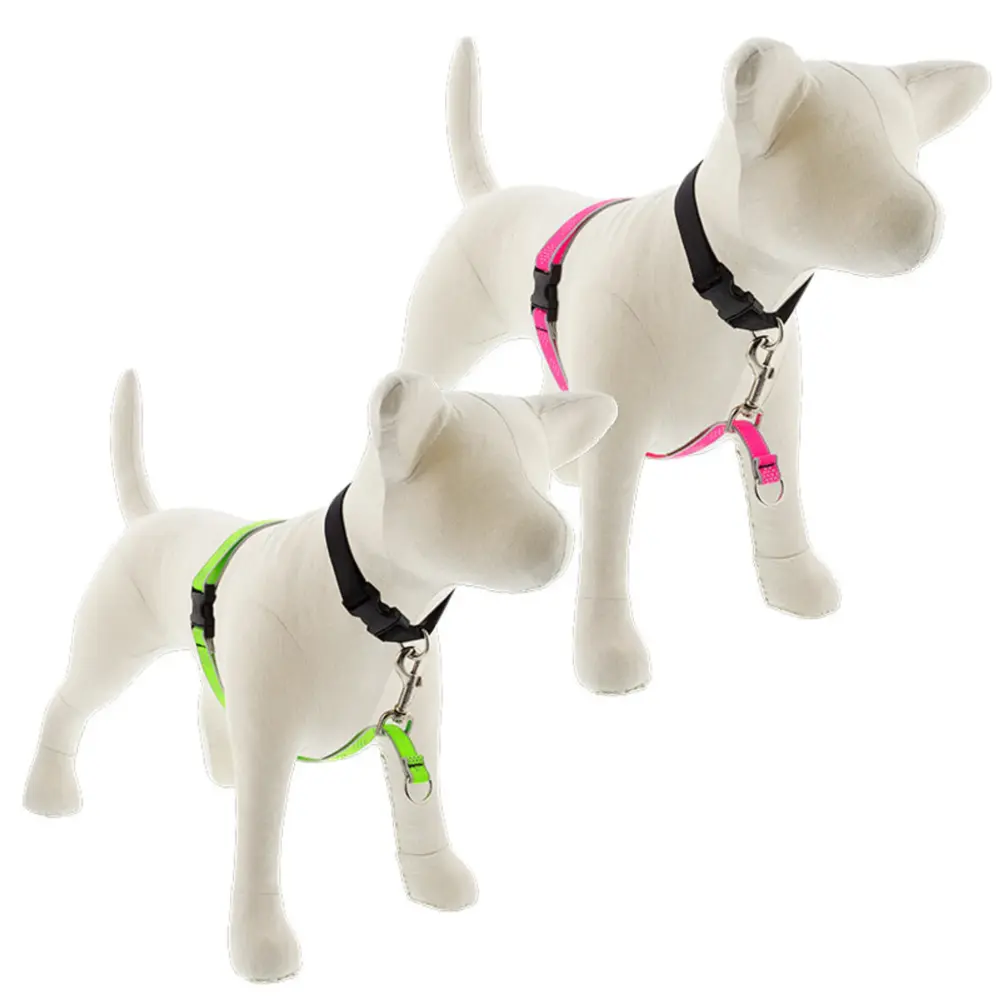
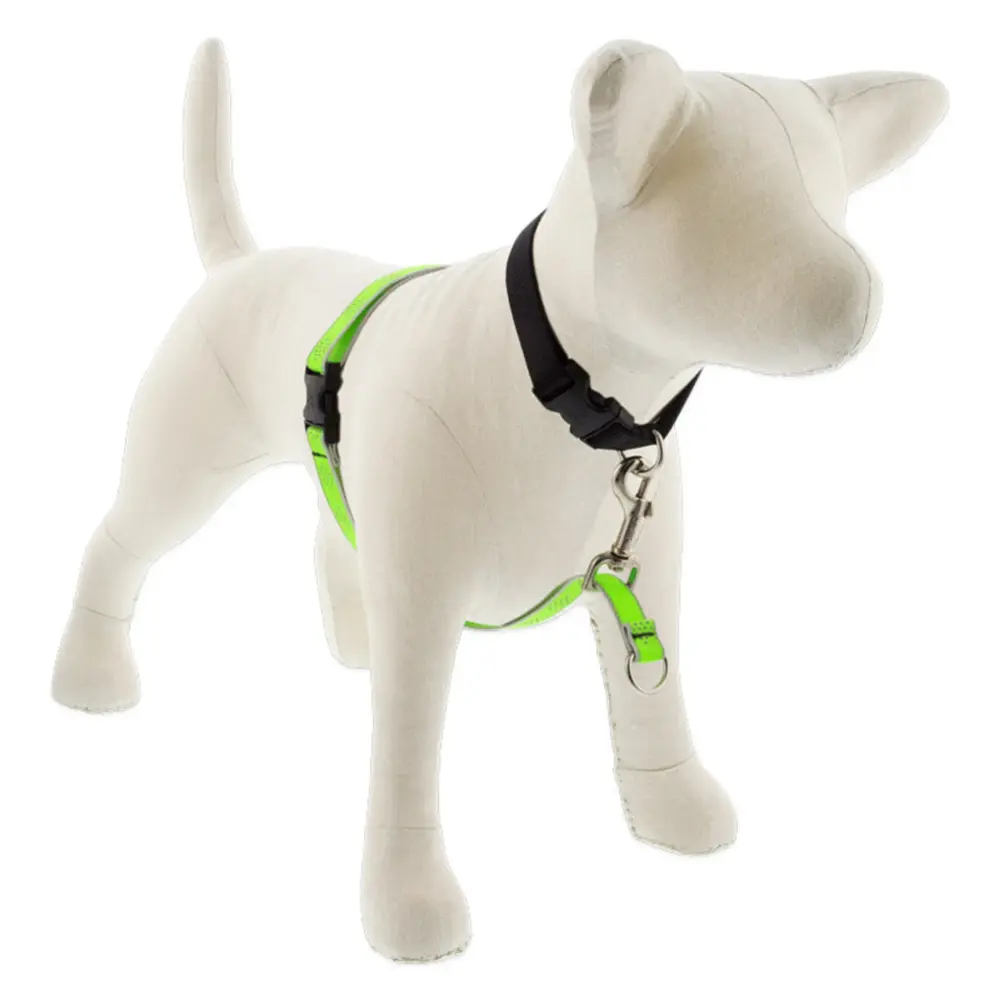
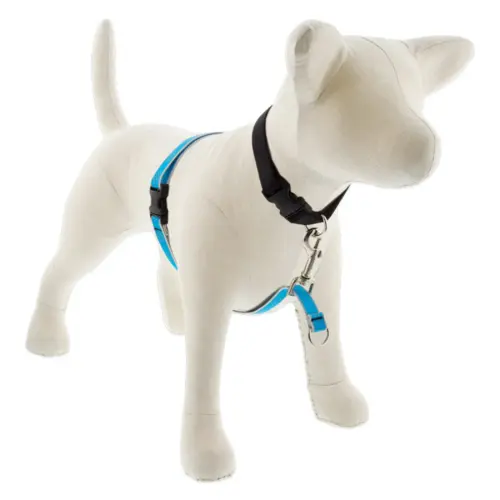
- Collar-attached. A strap around the chest that clips to your dog’s own collar, like the Lupine no-pull harness. The collar is part of the setup, so it goes on first.
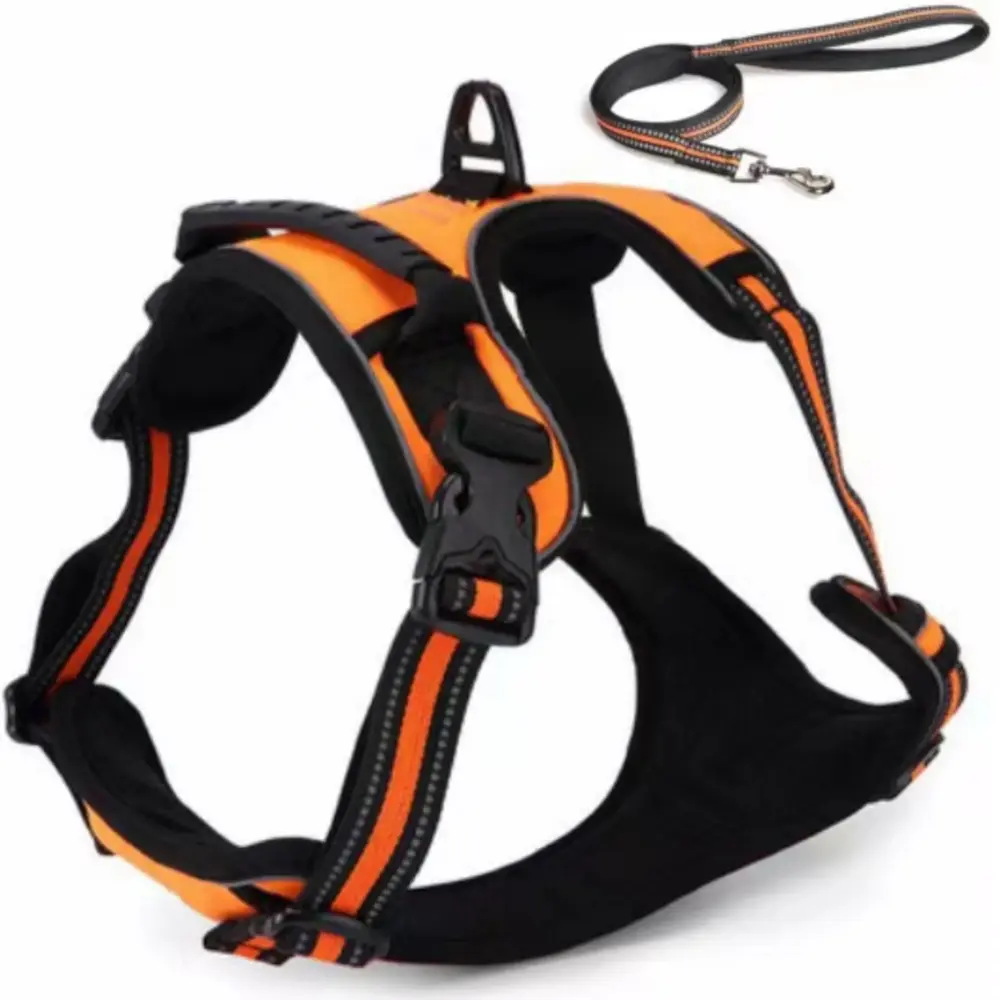
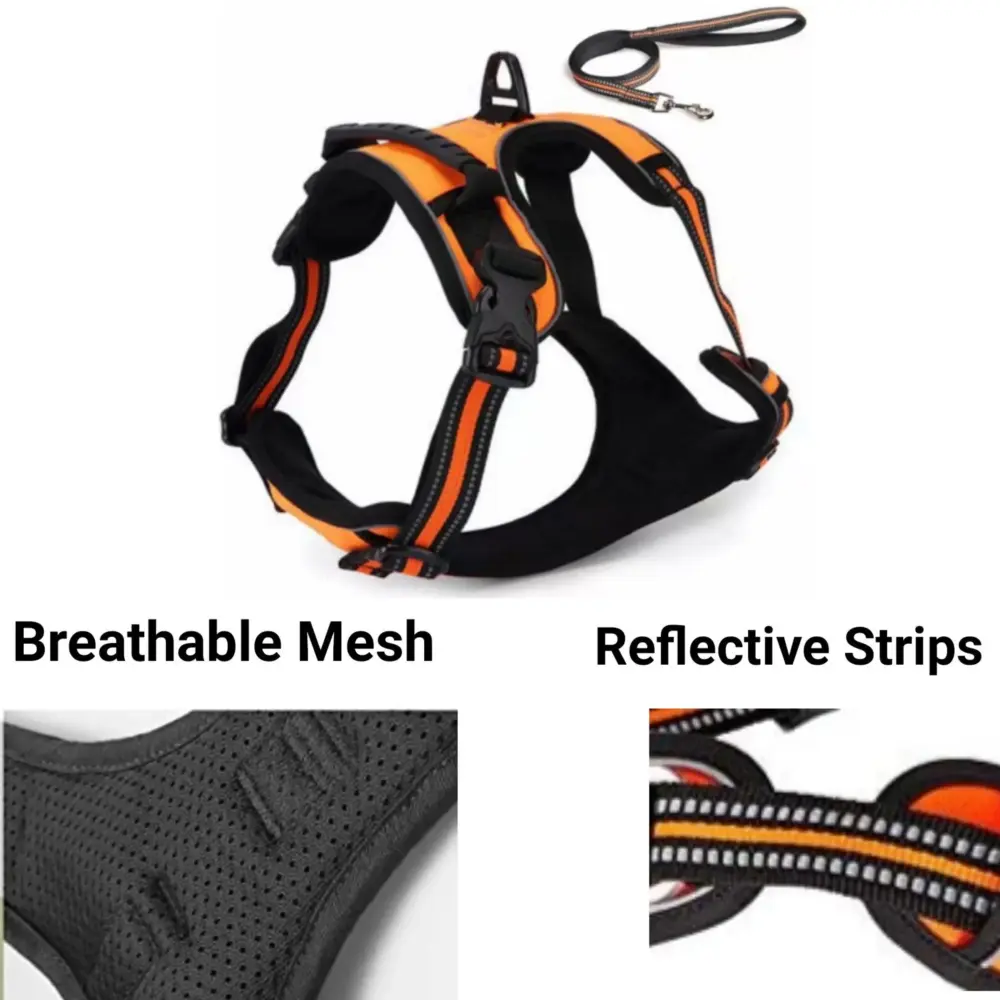
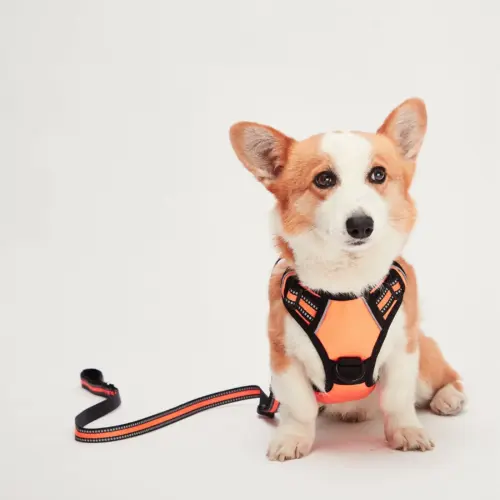
If yours is the Mr. Peanut’s PetTrek harness from our store, lay it out and match it to the first two descriptions, since our listing doesn’t name its style. It has quick-release buckles and adjustable straps, so the opening and snugging steps below apply either way.
What you need:
- The harness, buckles open and straps untwisted.
- Small, soft treats, or a lick mat for a dog who stands still while licking.
- Your dog’s flat collar with ID, worn as usual. A collar-attached harness needs it to work.
- The leash, out of sight until the harness is on if it sets your dog off.
- A non-slip spot and, for the first few fittings, a helper with the treats.
On a brand-new harness, let the straps out a little before the first fitting so it goes on without a squeeze, then tighten it once it’s on.
Tip
Fit check, on the first fitting and after every wash: snug each strap evenly until two fingers slide flat underneath and you can’t pull the harness forward over your dog’s head; our guide to measuring a dog for a harness covers sizing and fit problems.
How to put on an overhead harness
The AKC’s guide to putting on a dog harness calls this the standard style: a loop around the neck, a loop around the ribs and a D-ring on the back. These are its steps, with a few additions for a dog who’d rather be doing something else. Your dog can stand or sit.
- Get beside your dog. Kneel or crouch at your dog’s side or just behind them, rather than leaning over them from the front.
- Hold it the right way up. The back ring or handle goes on top, the chest piece faces your dog’s chest and the open end of the girth strap hangs free.
- Offer the neck loop. Hold it open in front of your dog’s nose with a treat just beyond it, and let your dog push their head through. Ease it past the ears; don’t drag it.
- Settle it at the base of the neck. The chest piece should lie flat on the breastbone and the back piece between the shoulder blades.
- Guide a leg through if needed. If one side of the harness stays closed, gently lift that front leg through its opening, between the neck loop and the girth strap.
- Buckle behind the front legs. Bring the girth strap under the chest and click it shut. Listen for the click, then give it a light tug.
- Check, then clip. Straighten any twisted strap, run the fit check above and only then clip on the leash.
Clip the leash to the harness, not the collar. Our comparison of a dog harness vs collar explains why, and why the collar still stays on for ID tags.
How to put on a step-in harness
A step-in keeps everything away from the head, which helps with a dog who ducks. The tradeoff is that your dog has to stand still while you place each paw.
- Lay it flat. Put the harness on the floor so you can see the two triangles side by side, with the buckles resting on top of the D-rings.
- Stand your dog over it. Stand or kneel behind your dog and steady them gently. A helper feeding treats low in front keeps them standing square.
- Place the front feet. Lift one front paw at a time, just above the foot, and set it down in the middle of its triangle.
- Lift and close. Pick up both ends, bring them up around the shoulders and clip them together over your dog’s back.
- Check the leg openings. The straps should sit behind the elbows without cutting into the armpits, and neither triangle should be twisted.
- Adjust and test. Snug the straps evenly, then try to lift the harness forward over your dog’s head. It shouldn’t come off.
A no-pull harness that clips to your dog’s collar
The Lupine Pet Reflective No-Pull Dog Harness doesn’t work on its own: it clips to the collar your dog already wears, and the leash attaches at the front. Lupine’s product page says it’s designed for the company’s everyday flat collars and isn’t intended for martingale training collars. It comes only in medium and large sizes, for a 16–26 or 26–38 inch chest girth.
Lay it out before the first fitting so you know which part goes around the chest and which part meets the collar, using the photos on Lupine’s product page as a guide. Then:
- Collar first. Fasten your dog’s flat collar as usual, with two fingers’ room underneath. The harness depends on it, so a loose or worn collar weakens the whole setup.
- Close the chest strap. Fasten the part that goes around the ribcage just behind the front legs, snug but with two fingers’ room.
- Clip it to the collar. Attach the harness’s collar connection to your dog’s collar, then give it a light tug to check it’s fully closed.
- Level it. Adjust the straps until nothing twists and the harness doesn’t drag the collar down toward the chest.
- Clip the leash at the front. Attach it to the harness’s front attachment, not the collar. That’s the part that turns a pull back toward you.
If your dog’s collar is a martingale or is getting worn, the Lupine reflective collar is an everyday flat collar in the same designs. The harness itself only makes pulling less effective; the teaching happens in short sessions like the ones in how to stop a dog pulling on the leash.
These are the only two dog harnesses Nilosi stocks, which is why they’re the only picks here:
-
Mr. Peanut’s
PetTrek Padded Harness and Leash Set, Choose size & color
Price range: $24.95 through $26.95
Why it fits: Quick-release buckles and adjustable straps for a snug fit, on a padded harness with a matching leash. XS to Large; check the size chart first.
-
Lupine Pet
Reflective No-Pull Dog Harness, Choose size & design
Price range: $41.95 through $45.95
Why it fits: Clips to the flat collar your dog already wears, with the leash at the front. Medium and large dogs only, 16–26 or 26–38 in girth.
A dog who wriggles, ducks or gets too excited
Most harness battles come from one of two feelings: excitement, because the harness means a walk is coming, or dislike of something going over the head or a paw being lifted. The fixes are different.
If the harness sets off the bouncing
The AKC’s advice on how to calm a dog down covers exactly this: feed a few high-value treats before your dog sees the harness, put it back out of sight if your dog gets jumpy, and reward every calm moment until it’s all the way on. A second person helps at first.
- Put it on earlier. Harness your dog before you reach for your shoes, keys or the leash, then wait a few minutes before heading out, so the harness stops being the starting signal.
- Practice with no walk. A few times a day, put it on, give a treat and take it off again without going anywhere.
- Use one quiet spot, and don’t chase. Call your dog to the same place each time, away from the front door. Following them around the room turns the harness into a game of keep-away.
If your dog ducks, backs away or won’t stand
- Ducking the neck loop. Let your dog choose to put their head through: hold the loop open with a treat beyond it and pay well each time. Our guide to leash training a puppy walks through that first introduction.
- Backing away. Work from your dog’s side instead of face-on, keep each session to a minute or two, and stop while your dog is still relaxed.
- Won’t stand for a step-in. Have a helper feed treats low and in front. A dog with stiff joints may find lifting a paw hard, and an overhead style can be kinder.
- Still a struggle after a week or two. The style may be the problem: a head-shy dog often does better in a step-in, a paw-shy one in an overhead. See how to choose the right dog harness.
Safety note
If your dog growls, snaps, yelps or freezes when the harness touches one spot, stop and don’t force it. Resistance that starts suddenly can mean soreness, so look for rubbed skin behind the front legs and ask your veterinarian.
Troubleshooting: when it won’t go on right
- The buckle won’t reach. Loosen the girth strap a little, buckle it, then take it back in to a snug fit.
- The neck loop is a squeeze over the ears. If the neck adjusts, let it out to get it on and take it in afterward. If it’s fixed and won’t clear the ears without force, don’t just order the next size up, which tends to sit loose on the body; a step-in may suit your dog better.
- A front leg ended up in the neck loop. Open the buckles and start again. Only the head goes through the closed loop.
- It’s upside down or back to front. The ring or handle sits on top and the padding faces your dog. On a step-in, the buckles meet over the back.
- The buckle won’t click. Check it for fur or grit and line both halves up straight. A buckle that’s only half closed can open on the walk.
- It goes on fine, but your dog slips out on walks. That’s about fit and how the leash is handled during a fright; see what to do when a dog backs out of a harness.
Taking it off and hanging it ready
Take the harness off indoors with the door shut, in reverse order: leash first, then the buckles, then ease the neck loop forward over the head or lift each paw out of a step-in. On the Lupine, unclip the leash and the collar connection, then open the chest strap; the collar and its ID tags stay on. Give a treat, and glance behind the front legs and under the straps for rubbed or matted fur.
To make the next walk start smoothly:
- Leave the sliders alone. Once the fit is right, open only the buckles. A small mark on the webbing beside each slider shows you if one creeps.
- Hang it by the back. A hook through the ring or handle keeps the neck loop at the top and the straps untangled, ready to lift on the right way up, and out of reach of a puppy who chews.
- Store it apart from the leash if the leash is what starts the bouncing, so the harness can go on before any walk cues appear.
- Let it dry first. After a wet walk or a wash, let it air-dry completely before you hang it in a closet, and recheck the fit, since straps can shift in the wash.
Related guides
-
How-to
What to Do When an Off-Leash Dog Approaches You and Your Dog on a Walk
A loose dog is heading for you and your leashed dog. How to read its body language in seconds, walk away without running, block it with your body and a firm voice, buy time with treats or an umbrella, and what to check and report if the dogs make contact.
-
How-to
Teaching Kids to Walk the Dog: When They’re Ready and How to Start
Your child wants to take the leash. Here’s how to tell whether your child and your dog are both ready, how to run practice walks with a backup leash, and what your child should do when the dog pulls, lunges or meets another dog.
-
How-to
How to Wash a Dog Harness, Collar and Leash by Hand or Machine
Check the care label, then hand wash nylon webbing in warm, mildly soapy water or machine wash it in a mesh bag if the label allows. Plus leather and retractable leashes, drying without heat, smells that won’t wash out and when to replace the gear.